-
-
-
-
Interface. Drawing Window
-
-
-
-
-
-
-
-
-
-
-
-
-
-
-
-
-
-
-
-
-
-
-
-
-
-
-
-
-
-
-
-
-
-
-
-
-
-
-
-
-
-
-
Interface. Drawing Window
There are drawing windows in the nanoCAD. Each document is opened in a separate window. If several documents are opened in the program, use the tabs to select the required document.
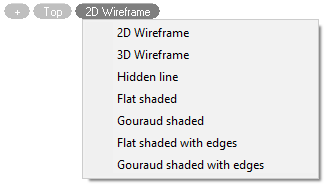
In the top of the graphic area, there are tools to control views, projections and visual styles of a model.
View control – the tool contains drop-down menus to select view and visual style of a drawing.
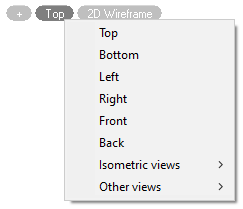
Locator – shows the current model orientation and allows for quick switch between orphographic, intermediate and isometric views or set any arbitrary view.

Conceptually, the locator is a conditional sweep of sphere to plane.
The display of Locator and View control on the screen is controlled through the menu of  sign
sign

User coordinate system icon (UCS)
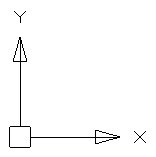
is placed in the default coordinates: X=0; Y=0; Z=0 (in the bottom left corner). To show/hide the icon, select the View menu – Display > UCS icon.
Cursor – the main instrument for selection and specifying in the drawing area. The cursor has a crosshair shape with a square sight at the intersection point:
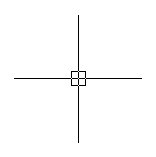
The shape and size of the cursor can be adjusted in the Cursor section of the Options dialog box (Tools menu – Options).
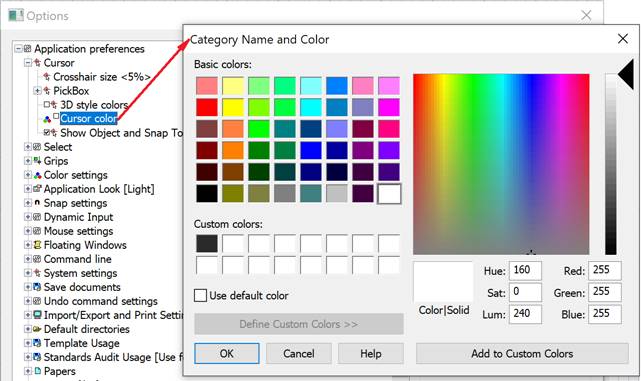
Attention! To change the cursor’s color, deselect the Use default color box in the Category Name and Color dialog box
Outside the graphic area, the cursor has an arrow shape: .
.
The document layouts’ tabs in the bottom part of the window are used to switch between layouts and to switch from model space to paper space and back. It can be more useful to use the  button located at the end of tabs row. The button allows switching between layouts and named views in the document (for more information see the “Model space and Paper space” section). Scroll bars in the bottom and left parts of the graphic area are additional tools for panning. The Scroll bars command from the View menu shows/hides the vertical scroll bar. The horizontal scroll bar is always shown.
Commands that manage sheets and documents tabs displaying are located in the View menu and on the ribbon – Options tab – Customization group:
 Layout and document tabs (SHOWTABS command, hotkeys ALT+T);
 Document tab (SHOWTABSWINDOW command);
 Layout tabs (SHOWTABSLAYOUT command).


 Es
Es  Fr
Fr  En
En 
